Showing posts with label crafts. Show all posts

Wednesday, May 25, 2011

Beach Towel Robes

Believe it or not, summer is right around the corner!! It seems to sneak up on me every year, but I sure am a summer girl!  Fireworks, snowcones, and SUN, SUN, SUN! I like to do a lot of fun things with the kids, but for sure one of our favorite activites is swimming. 

When it's time to get out of the pool though, ever notice how chaotic things can get?  Goose bumps appear, and suddenly everyone is starving and has to go to the bathroom.  We make a mad dash for the car, while I'm trying to carry a baby and all of our CRAP junk we brought, all while trying to keep our towels wrapped around our shivering bodies.   

 "Gee, how I wish we had extra hands, " I often thought to myself. 

Well, now my kids can carry their own stuff because their hands are free!
I saw this idea in Family Fun a few years back, and was excited to make them last year for my little squirts.  (AND, they are SO easy!)


 I picked up these swim towels last summer at Wal-Mart for $5.00 each.  Just fold the towel in half so it is inside out.  (The picture shown below is not inside out. Oops) 

 Do a simple straight stitch up both sides of the towel, but leave some room at the top for arm holes.

This is about how much space I left for the arm holes. 

I cut a half circle for the neck hole.  BE CAREFUL!  It probably does not have to be as big as you think.  I may or may not have had to stitch some of it back up, as the opening was too big and kept falling off their shoulders.  Use a shirt to measure or start with a small half-circle and then work your way bigger as needed. 

I did a little zig-zag stitch around the neck hole because I liked how it looks.  You could do a straight stitch as well.  I left some space so it would fray a little bit. (We're so rugged around here!)


Hit the pool in High Style and ROCK that swimwear!


Linking up to:

Wednesday, May 18, 2011

Spring Flower Balls


April showers bring May flowers!  We have certainly been getting plenty of rain (and snow) around here, but between my 4 year old daughter picking and the deer munching, I don't have as many flowers as I should!  I saw this darling idea at a bridal shower and couldn't wait to get started! The best news of all? All supplies were bought at Dollar Tree. I sure love that place....even though it becomes the Forty-Dollar-Tree each time I visit. 
Here's what you'll need:
Flowers (obviously)
Wiffle balls
Hot glue
Scissors
Ribbon (if hanging)


Start by taking the flowers apart, leaving some length of the stem like this. If they are small flowers, they might have two or three blossoms all connected with one stem. It's fine...


Put some hot glue around the holes and tuck the stem inside, pressing the flower onto the glue.

If you want to attach a ribbon, do it when you have just a couple of holes left to fill.  The first ball I made, I put the string in first and it just got in my way the whole time. But maybe you're more coordinated than I am!   Put the ribbon through two holes and tie at the top.

Tips:
Make sure your ribbon is long enough, mine were a little too short at first.
Use big flowers--it made the whole ball look bigger and fluffier. 
If the flowers are small, you can put a couple of stems in each hole.
You'll need 2-3 bunches per ball, depending on how big the flowers are and how tight you glue them on.
I wondered if these would be great smelling if I put some essential oil on a cotton ball and put it in the middle before I glued flowers on....but I haven't tried it yet.  Maybe they could help my car smell great!

And there you have it.  They sure add a splash of color!!

I got a little carried away with the picture taking....I wasn't sure what would look good! Here are all sorts of options.


*Contest Closed*

I want to give some of these away! Here's how to enter to win a set of Three Flower balls:

*Become a Follower of Happy Little Party, and leave me a comment telling me you did so
*Sign up for email updates to Happy Little Party and leave me a comment about it
*(If you already do these things, just leave a comment about it!)

Thanks and Good Luck!
Contest ends Tuesday, May 24 around noon
Linking Up:

Tuesday, April 19, 2011

Spring Candy Jars

For many people, Easter = Candy.  Right? I just loved this idea for candy jars and immediately scoured the refrigerator for jars to use. 
I used a pickle jar and a Tostitos salsa jar for the tops and a candle holder and a votive flipped upside down for the bottom.  (These were purchased at Dollar Tree).  Wash out jars and remove the labels. (Wash them better than you think you need to.....my friend told me my candy still smelled like pickles!) Using spray or craft paint, paint the lids and candle holders.  I then used a strong glue to hook it all together and, Voila!  So cute!! I just may have to make some in different colors for every holiday.  Combined with my Egg picture and my Spring Blocks I am pretty excited about my new decorations! 
Happy Easter!

 And, if you wonder if the kids ever notice the crafts you make or decorations you put up....they do if candy is involved!! I swear they have some kind of radar!


Linking up to

Sumo Sweet Stuff

Friday, April 15, 2011

Quick and easy Easter Decor

Pink. Yellow. Purple. Pastel colors in abundance.  It might get to be too much for some people. 
 Enter sleek, cool, sophisticated gray combined with said pastel colors and we have, well, this amazing idea. 


I'm a little late getting into the Easter swing of things--it is NEXT week!! But perusing around blogland I found some super cute decorations that come together very quickly.  Always a good thing, right?

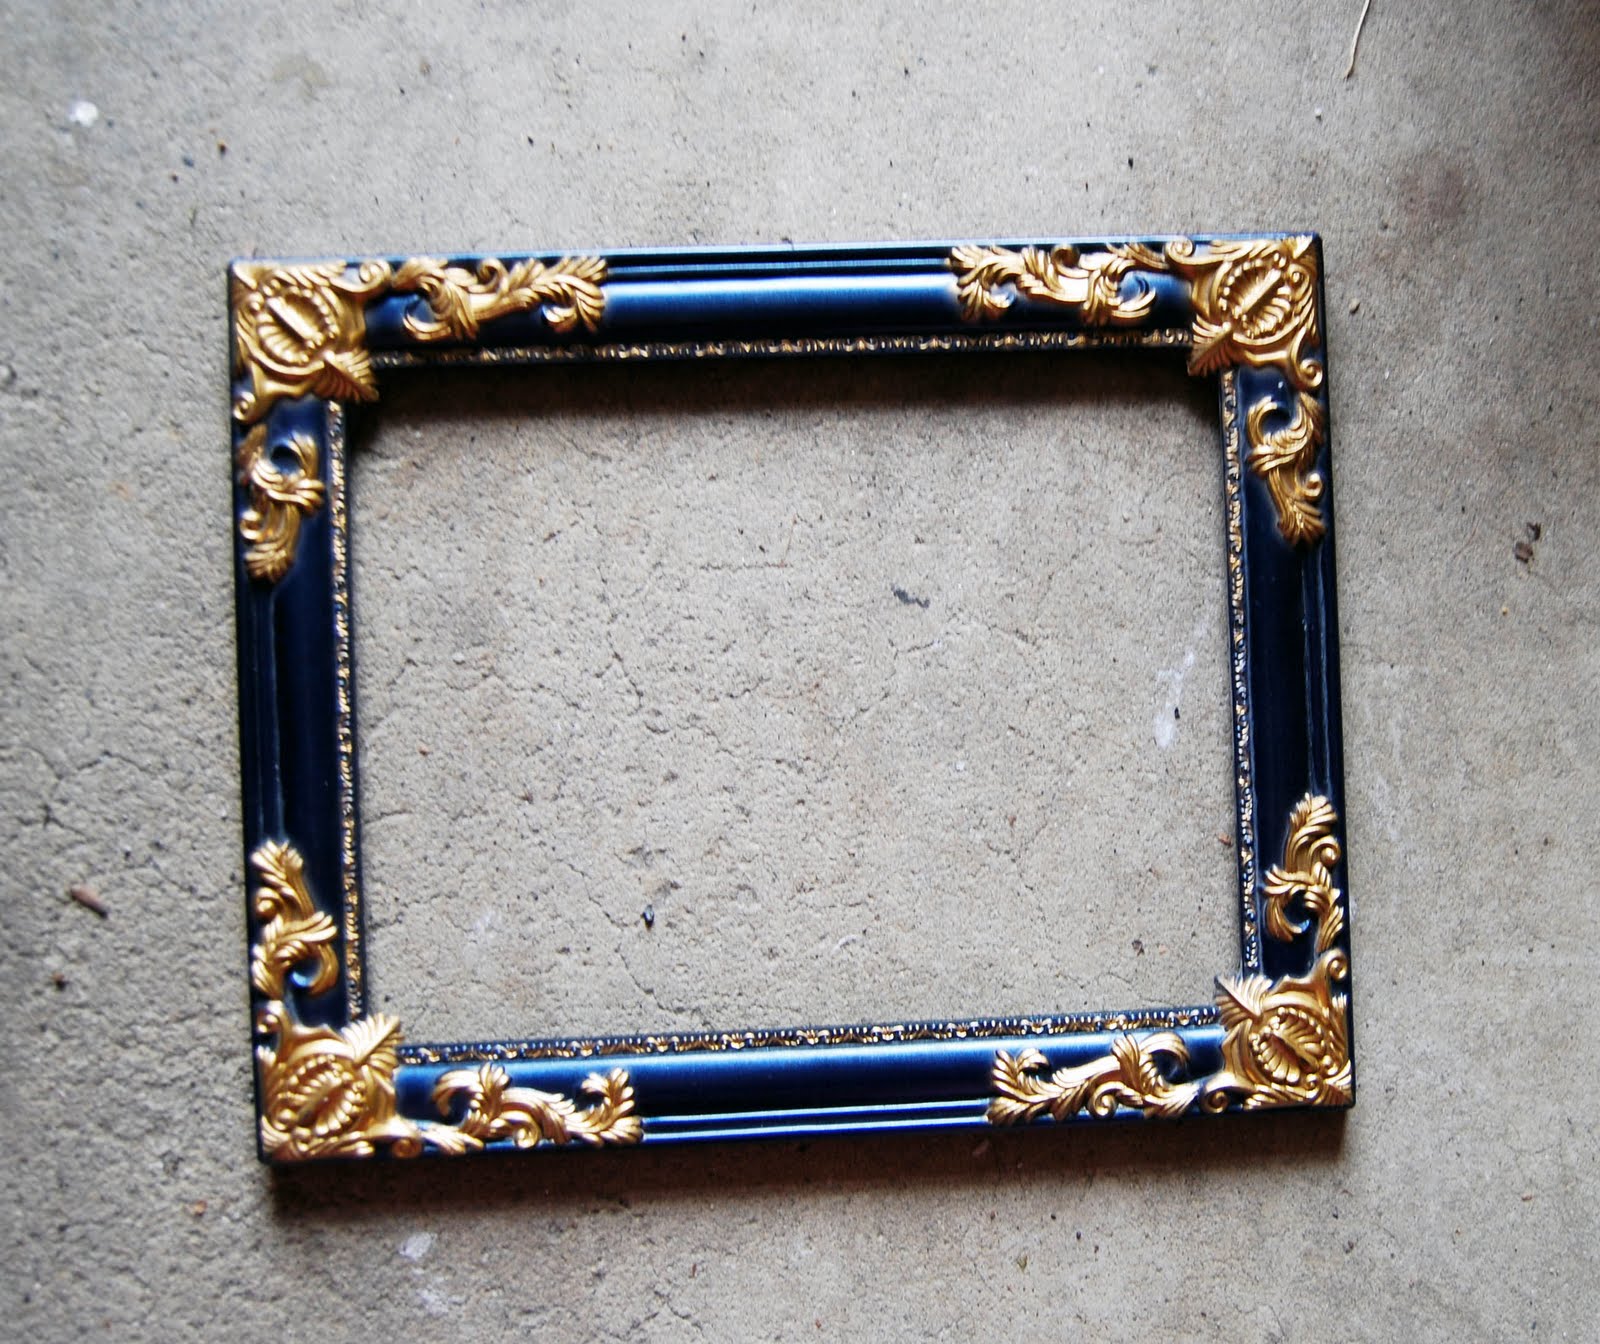
I found this awesomely ugly frame at a thrift store for $1.00.  Not a great color, but I LOVE the corner design.  A quick coat of spray paint does the trick every time.


I ran to Dollar Tree to pick up these adorable glitter eggs.  Seriously, I saw this idea late at night, and I could hardly wait until Dollar Tree opened the next morning so I could get started.  Like, I almost couldn't sleep.  I know, I'm weird.

Just pull out the little strings and hot glue them onto some cardstock sized to fit into the frame.  That was easy!


Since I had a few eggs left over, I grabbed some of the curly twigs floating around my house (my husband loves these) and made this happy little tree :)
                       Happy Decorating!!


Stay tuned next week for more decorating ideas, food and Easter treats!!
Thanks for stopping by!


PS. I just added a "subscribe to email" bar on the right. Subscribe today to receive updates!
(because I know y'all can't wait for the next post!!)

Tuesday, April 12, 2011

SPRING blocks

It may be winter-ish outside, but you can brighten up your house with fun spring decor!! There are lots of ways to make these holiday blocks, here is my version.  I just bought a 2x6 at Home Depot and cut it into blocks.  I painted the blocks white, found scrapbook paper I loved and mod-podged them on. (apparently, this is quite the delicate art. On the first blocks I made, the paper became really bumpy and looked horrible after I used the mod-podge!!) I guess you just do a little at a time.

I cut out some letters and 'podged them on too. Note: I do not have a Cricut or any of those fancy tools.  This is just my cardstock paper, pencil and handy ol' scissors. Talk about skills, right!? I just found a font I liked and did my best to freehand.  Don't look too close...
Embelish with ribbon, buttons, flowers, etc.  A little distressing ink around the edges would look great too!


(Oh, and by the way, I used the other side of the blocks for a different season! How's that for thrifty?)

                                       What are your favorite spring projects?


                                These are simple and easy to make.
I'm thinking they would make a fun hostess gift or spruce up
                             your own Easter table!

Linking up:

Tuesday, April 5, 2011

Girls Hair Bow Holder

I know projects like these have been floating around in blogland for probably a year now (I'm a little late to the blog party!!) but I just made a couple of these and thought I would share, in case this is a new idea for some of you. This would be perfect for a baby gift, or for that special little girl in your life!

My daughter has a lot of hairbows.  They are all in a cute pink box. Or supposed to be anyway. I would love to say that the pairs of these bows are together in the box and always easily accessible.  But that would be a lie.
I saw this idea and was immediately excited to make one of my own! Here's to hoping for more organization.


I went to the local thrift shop and found a frame. I wanted one big enough to fit a lot of bows. I looked for a really gaudy, gobby, textured frame, but this was the best I could find.  Either people are hanging on to their ugly frames, or the majority of frames being made now are more simple!

 I removed extra staples, etc or anything that may be on the back or center of the frame, and spray painted it white.  I only did one coat, because I liked how I could still see a little of the gold peeking through. 
 Here is a close-up of the frame.  It has decent texture, and I do like the darker color  underneath.

I probably should have stopped here--I think I like this look the best, but I decided to add a little dark glaze to it to antique it a bit more.

I used an old rag, and rubbed a little glaze around some parts of the frame to achieve the look I wanted.  Then I sanded it a little.....as I said above, I think I liked it best before I put the glaze on, but it turned out okay!
 Next, I chose what color ribbon I wanted and cut a few strips.  I hot glued them on each end, pulling the ribbon tight before gluing it down.

 Next, I added a sawtooth hanger to the back. These are nice too, if you're like me and *don't measure exactly right* to the center. These babies will still allow you to hang a straight frame!!

Those little nails they come with are really little so I used a bigger nail to make a hole, then I pounded in those small nails. (I'm not very handy, I know)

 Viola!  I was able to finish this whole project in just over an hour (including my time to run to the thrift store and back!!) 


Here is a pink and brown one I whipped up as a gift for my friend who is expecting a girl in June


This would be such a fun gift to give at a shower! Even better if you include some hair accessories with it!

linking up to

Related Posts Plugin for WordPress, Blogger...